As with a lot of gluten free mixes, there are some pretty weird directions.
I preheated my oven to 350 degrees and also put the cupcake liners in.
I put the water into the pyrex to boil in the microwave. For me it took 1 min and 30 for my water to boil, and steam up the bowl.
Then I added the mix.
It did a red bubbling volcano thing, which was fun. I mixed the mix with my mixer :) for the recommended 30 seconds.
Then Added the eggs and the oil.
Then mixed again for 30 seconds. I was a little worried that the eggs might become scrambled with the boiling water but they didn't. I don't know if it had just cooled off enough by then or if the mixing helped them not to cook. Also wash the beaters, you'll use it for the frosting later.
I filled the muffin tins,some a little too full because they are exploding out of the container later. I'm used to the Betty Crocker cake mix that you put almost to the top and it doesn't rise very much at all. This one does rise, you were warned :)
Now to cook in the oven for 20 mins, plus an added 5min because the toothpick came out sticking the first time.
While those were cooking I made the frosting recipe on the pkg.
I think it was different that they put 2oz of butter on the pkg. I know that a Lb of butter is 16 oz/4 sticks is 4oz a stick so I deduced that it was half a stick. Yay math. I creamed together the cream cheese and butter in a bowl.
Then added the sugar and gluten free vanilla, took out the washed beater again, and go to town. That sugar flys everywhere if your not careful...which I'm not. Now I recommend if you make cupcakes a lot you should get one of these kits. I got mine at target.
Please excuse the crazy nails, I always seem to use the tip that looks like this...
I have tall cups so what I usually do is get a plastic baggie or if you still have wilton bags that come with the kit use those, cut off the end and put the tip in the bag.
I set it in the cup and fold over the edges, cause I don't want frosting on my fingers.
Add frosting.
Lift the bag out of the cup twist the top and squeeze the frosting down to the tip.
Then I just put the frosting back in the cup and through it into the fridge to cool down because its basically a buttercream, and if you've watched Cake Boss you know buttercream must stay in the fridge.
So this is how they turned out. A little bit exploded but not too bad. I let them cool on a rack for about 20 mins while I entered giveaways on twitter.
They cooled a little bit indented on the top, but that seems to be a gluten free theme for my cupcake endeavors. It can be remedied with a little cream cheese frosting and Red sugar of course.
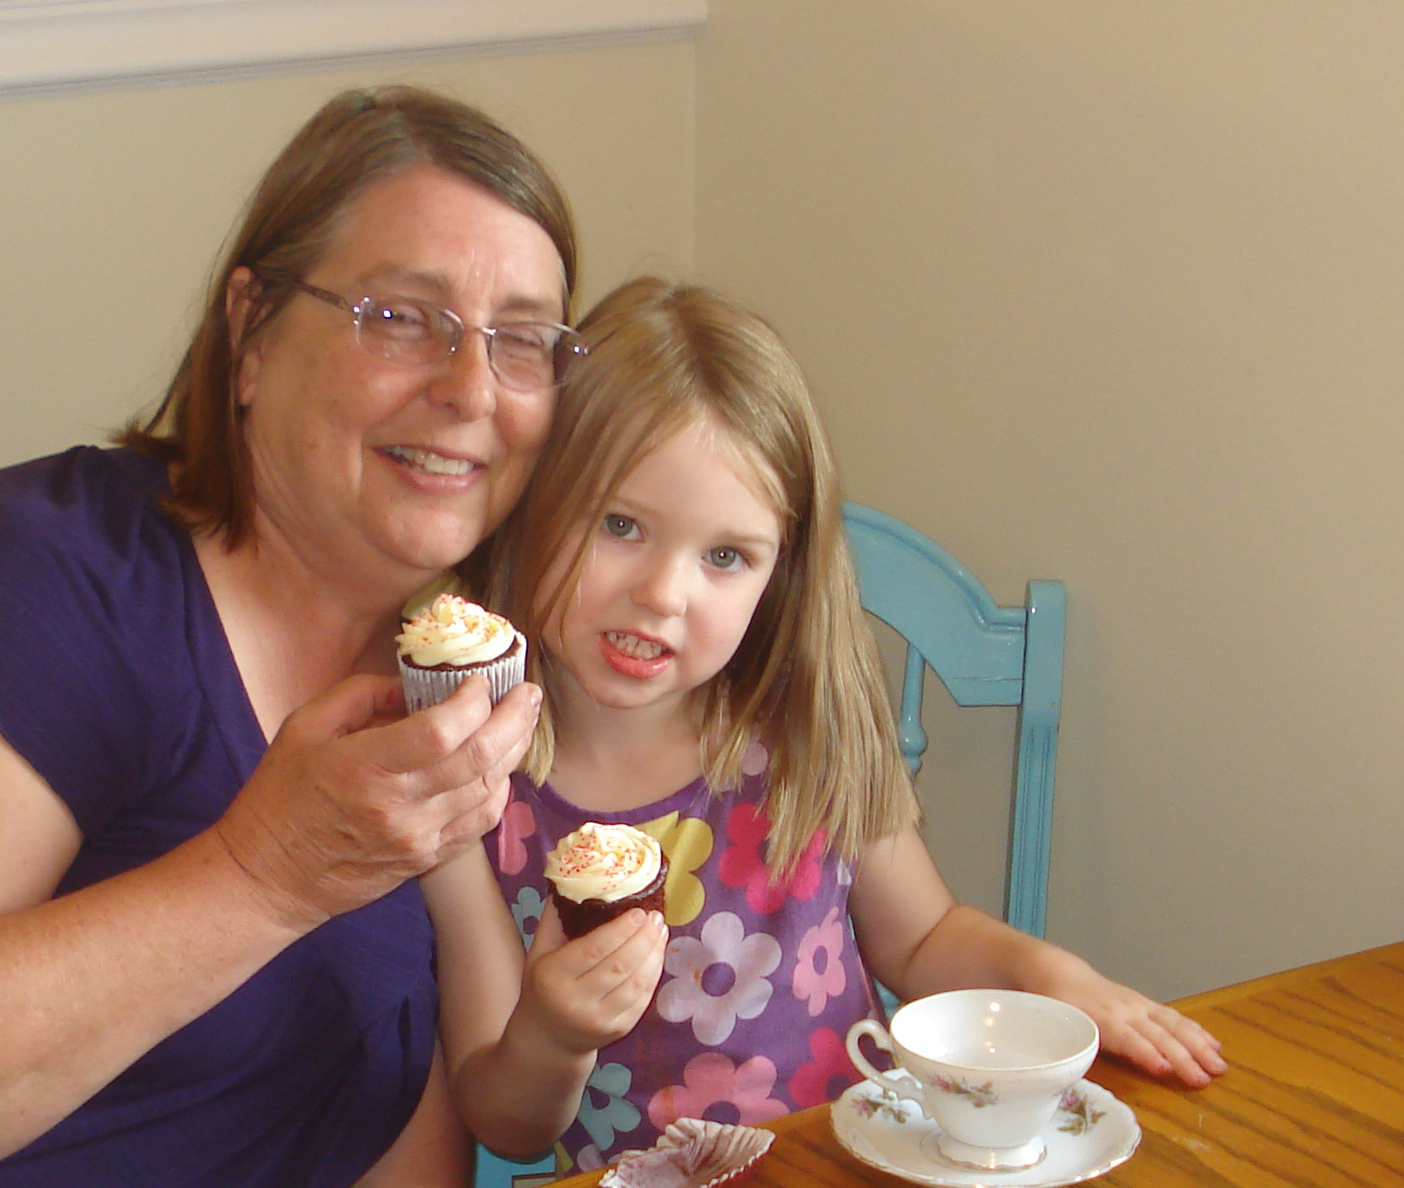
Now For the taste test. We had my mom and niece over to try the cupcakes at a tea party.
Kairi had the first response. She said "Yummy!" My niece said they were "awesome." I thought that they were better after a night in the fridge. My mom said that they taste more moist than a regular gluten free cake.The frosting tasted like cheesecake, and was not as heavy or dense as other gf cakes. When my husband came home he said that they were dense, but pretty much tastes like a regular cupcake. (He is not gluten free). He was not a fan of the frosting.
Flower Donated by our Garden friend/Neighbor Nancy.
Joke of the day: Someone said "Why is it minty?" Response "Its Min-ty because its Mint-tea" get it?


No comments:
Post a Comment